Selfies are all the rage, and what better way to accessorize your photographs than with a personalized photo frame?
Good for anytime usage and amazing for parties and gatherings, this quick step-by-step tutorial for how to create a custom picture frame will increase those
Instagram likes in a heartbeat.
Materials: Foam 20-by-30 inch poster board frame, paintbrushes, paints (the paint color is up to you), a small box-cutter knife, a pencil, a ruler and additional materials (up to your discretion) to design the board.
Suggestion: Paint stencils for neat designs, stickers and glueable images, which can be found at Walmart or your nearest crafts store.
Step 1: Gather your supplies.
Depending on how many frames you will be making, you will need at least one foam 20-by-30 inch poster board frame.
Step 2: Begin by painting your board(s) two layers of the desired paint color. Let the paint dry.

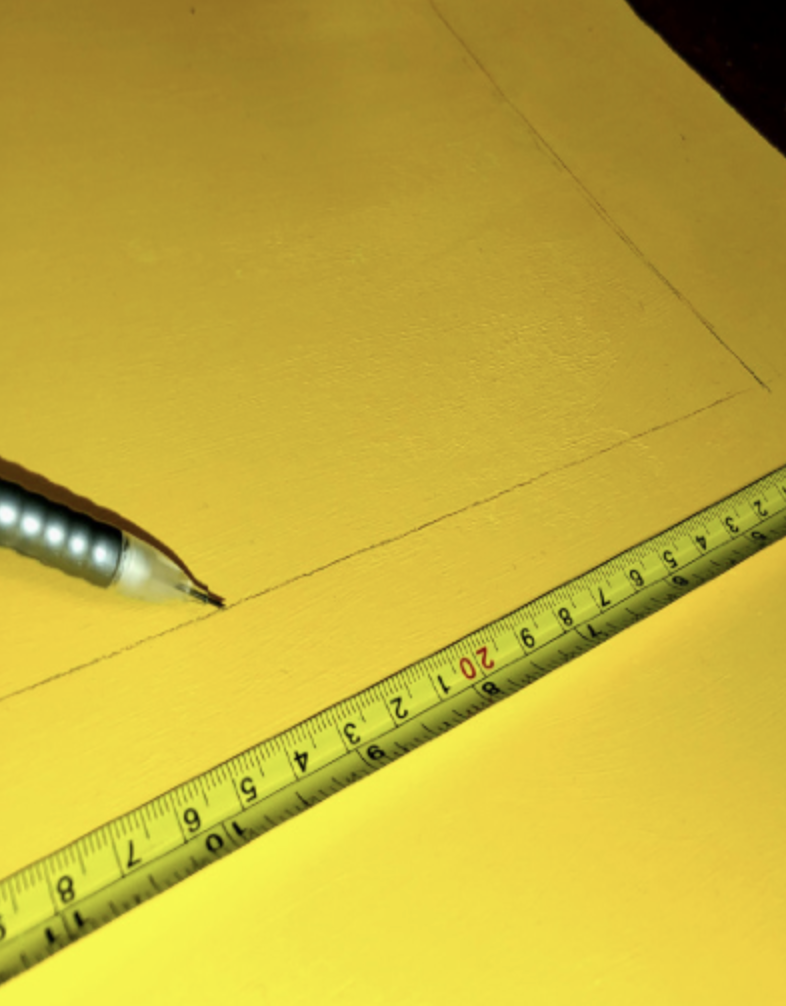
Step 3: Using a ruler and a pencil, measure an equally spaced square in the center of the board.
If you are going for a ‘polaroid’ type frame, center the square towards the top of the board, leaving more room at the bottom (at least two inches more).
Step 4: Using a box-cutter knife, carve out the pencil-lined square as if carving a pumpkin.
Step 5: Decorate. Be sure to erase any leftover pencil markings and decorate with additional materials to get the desired personalized look.
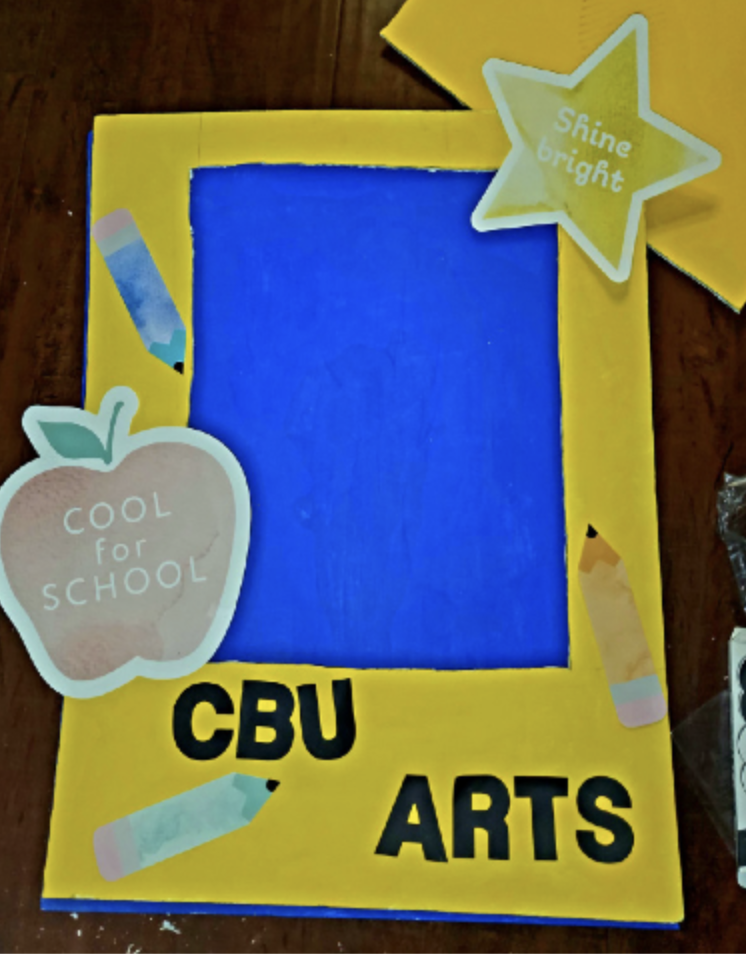
Make sure to let additional glue or paint dry before usage.
Hold up this frame and take selfies or pictures with friends, or set it out for photo booth usage.