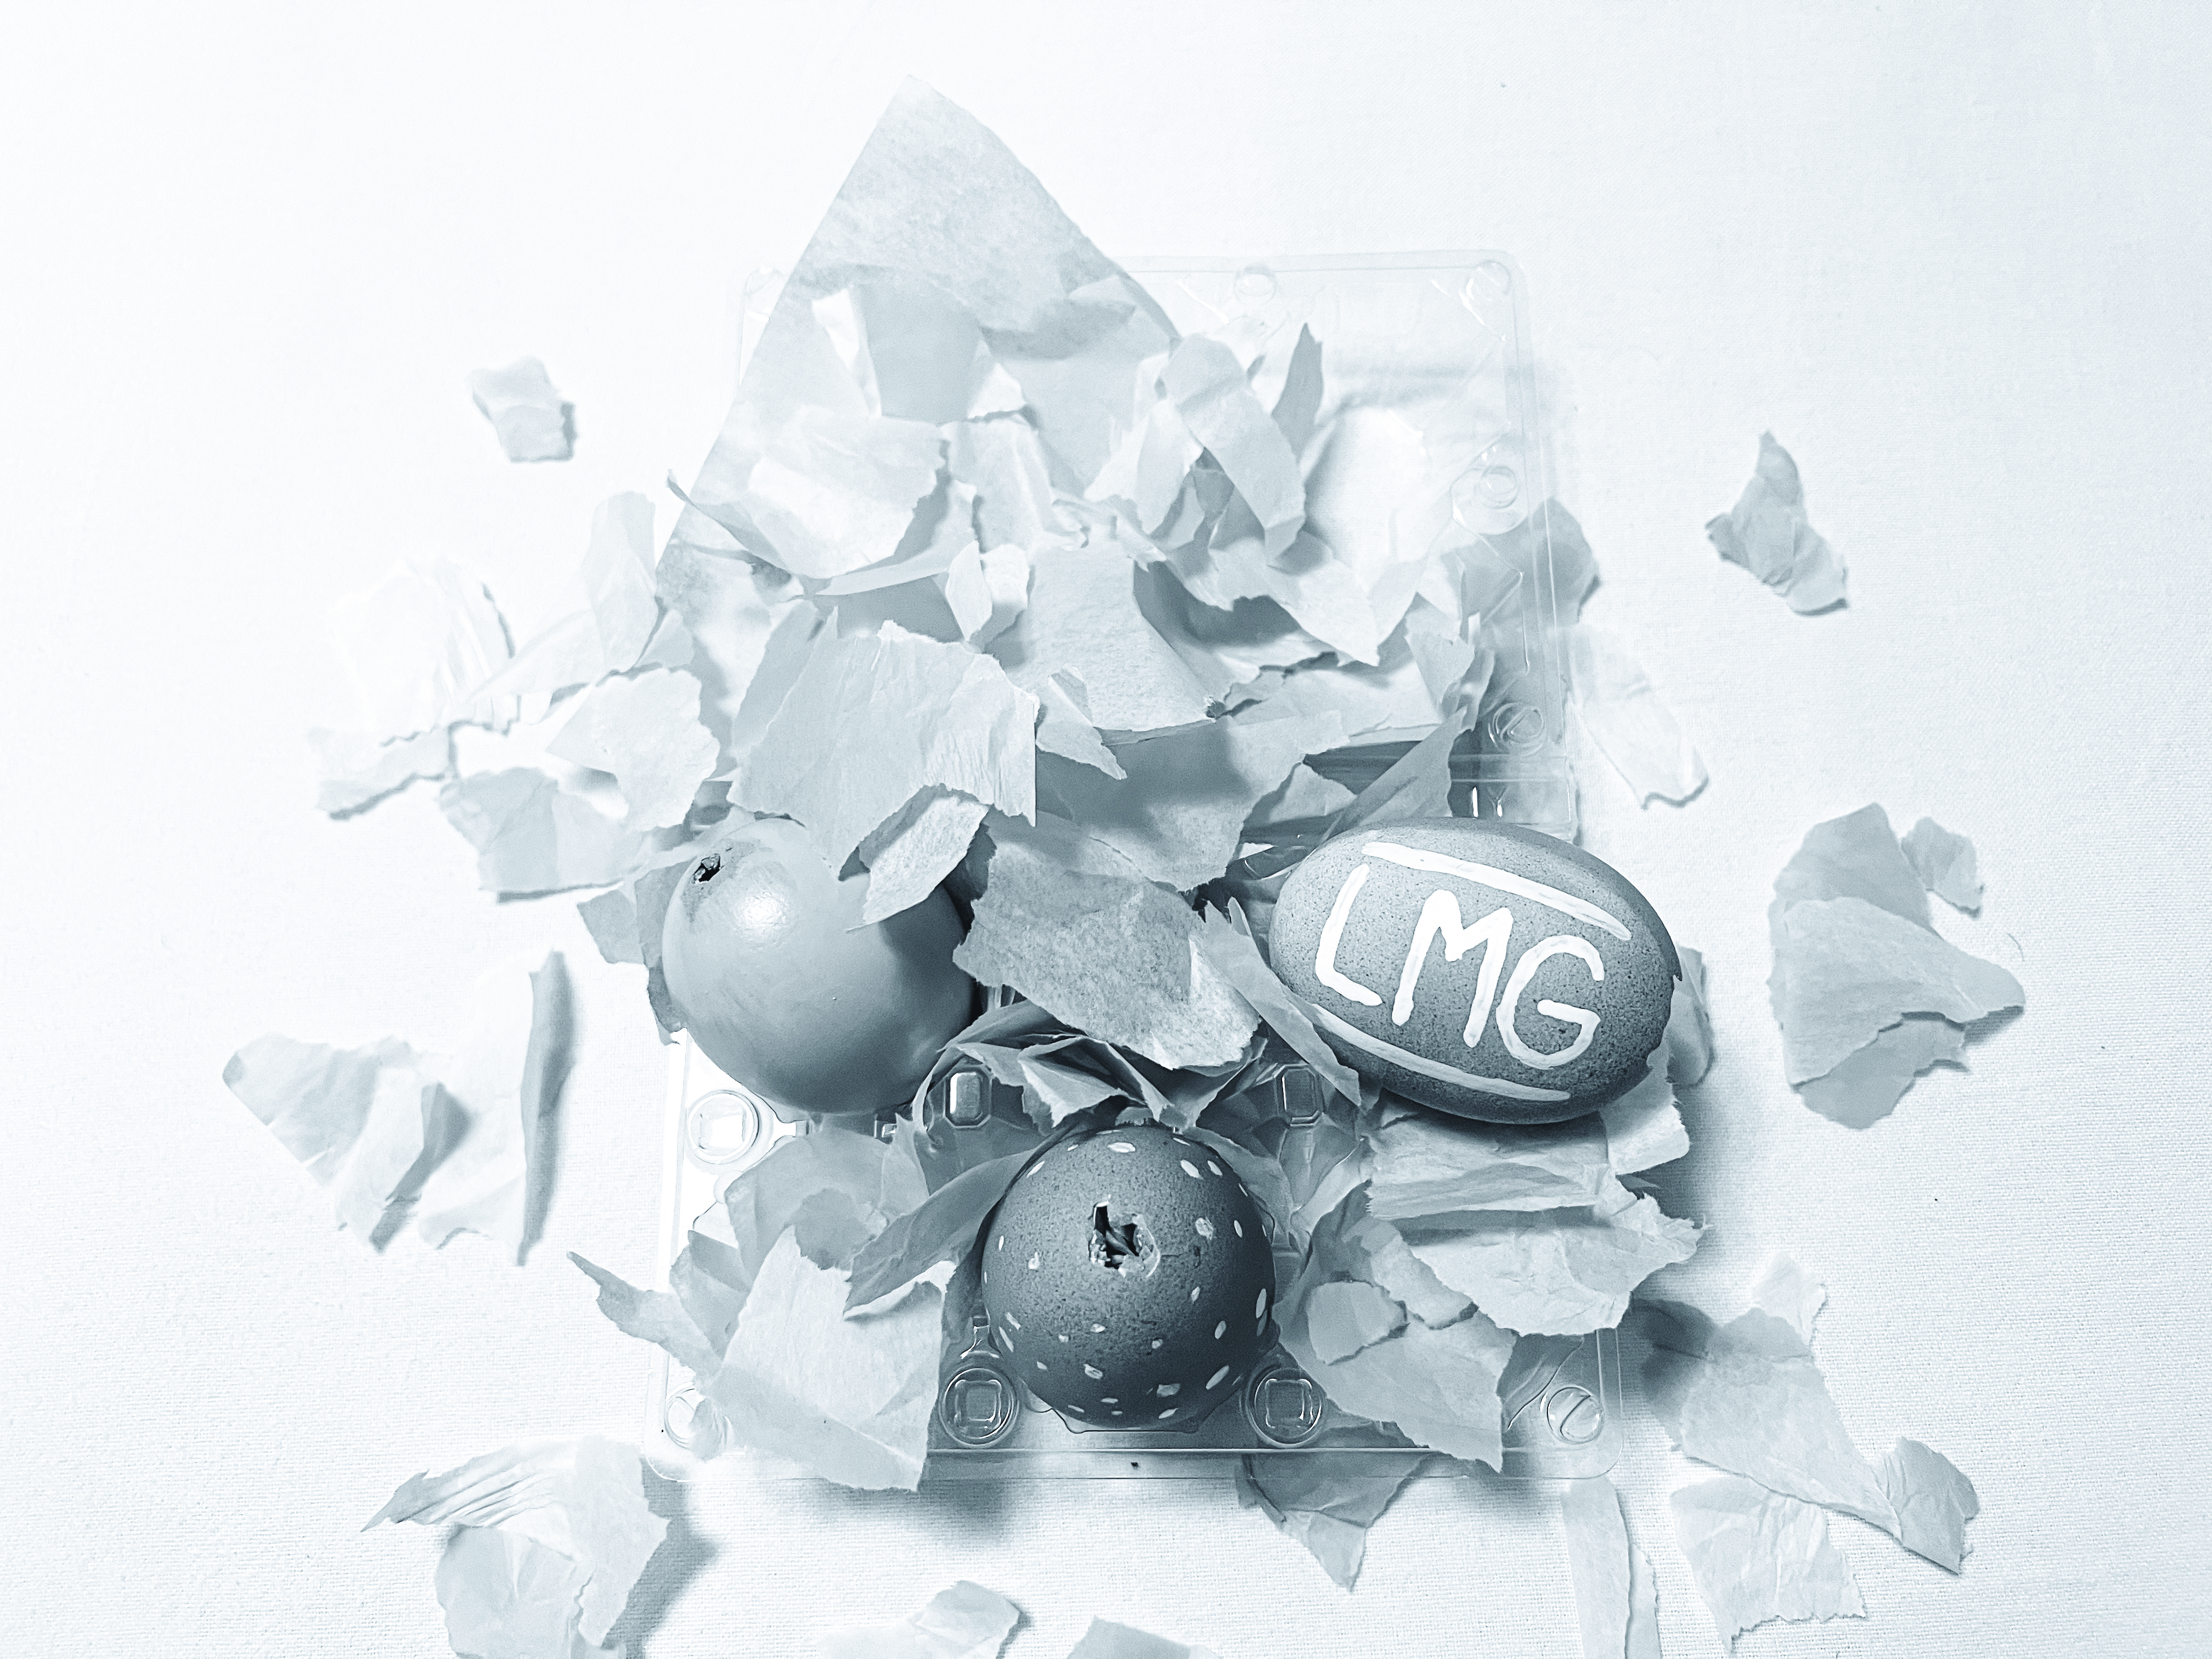
With spring in full swing and the Easter holiday just right around the corner, there are many activities that the new season brings. Like other holidays, the Easter holiday brings a diverse set of cultural and familial traditions. One common association with Easter is confetti eggs.
The confetti egg, also commonly referred to as a cascarón, originates from Latin countries such as Spain and Mexico. Making confetti eggs is fun because of the customization and creativity that comes with them. A common occurrence before Easter is to have an egg-decorating party with family and friends in order to prepare the cascaróns for the holiday.
The process of making a confetti egg looks different from individual to individual. For example, we only had brown eggs, so we painted them with acrylic paint. However, if you have white eggs, another fun idea is to dye them using a food coloring and white vinegar mixture.
For this craft, you will need a whole chicken egg, a safety pin, tissue paper (or traditional confetti), vinegar, liquid glue and any other supplies you might need to customize your egg to your liking.
Step 1: Gently poke a hole in both ends of the egg using the sharp end of the safety pin. If it would help, you can always gently tap the end of the safety pin using a hard object to gently chisel the sharp end of the safety pin into both ends of the egg.

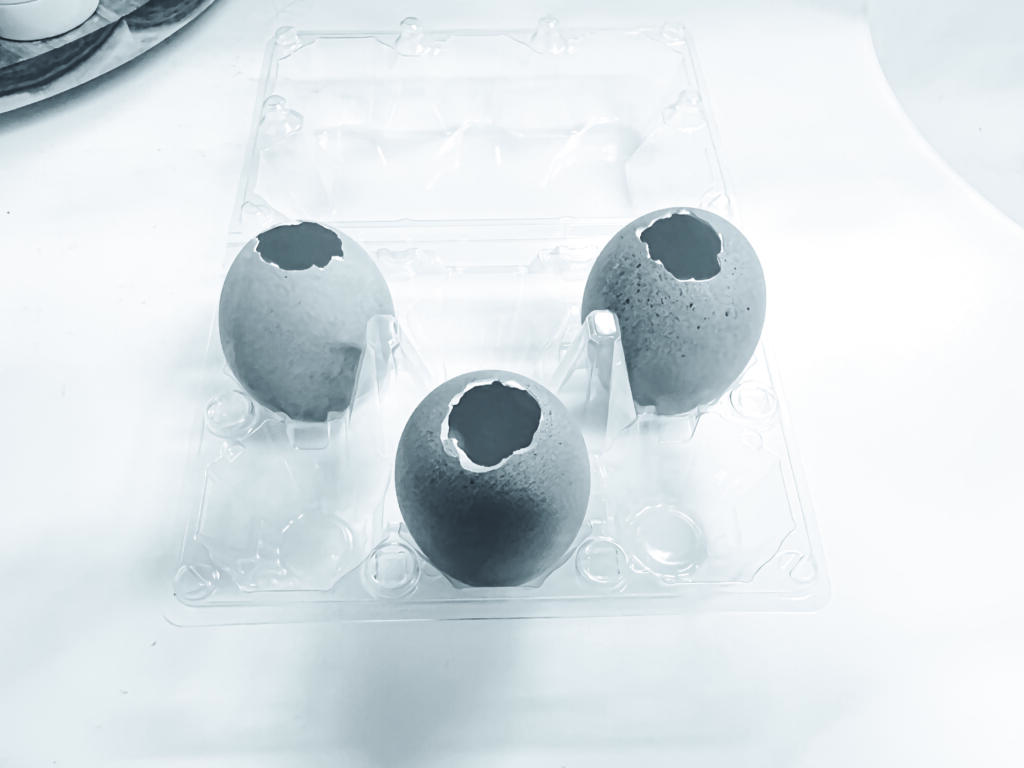
Step 2: Empty all the egg contents. This can be done by slowly draining the egg or blowing out on one side of the egg. We found a plastic syringe and used that to expel air into the egg so the contents would drain faster.
Step 3: Gently prepare a larger hole on one side of the egg and place the egg in a vinegar wash to wash away the liquid egg contents.

Step 4: After the vinegar wash, thoroughly rinse the egg with water. Feel free to even use a little soap. Then, wait for the egg to completely dry both inside and outside. We used a hairdryer to speed up the process.
Step 5: Now that your egg is completely washed and dry, it is ready to decorate. This is where you can let your creativity shine. Use paint, egg dye, cotton balls or anything else you can think of – it is your personal creation.
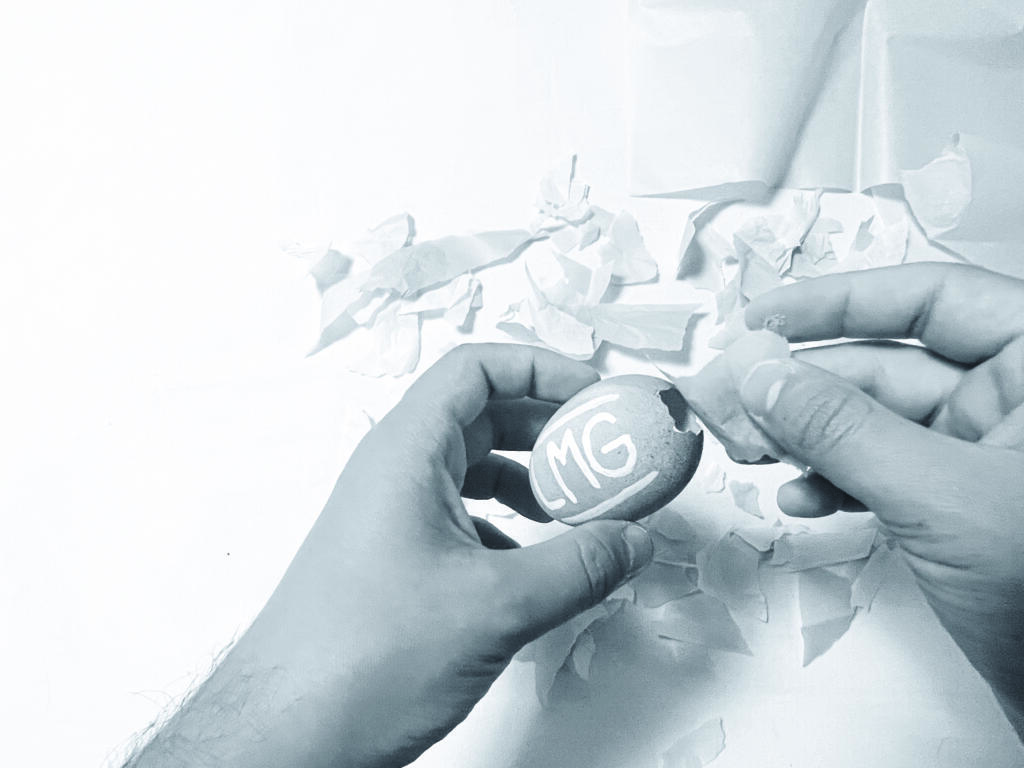
Step 6: Now that your egg is decorated, you can now fill it with confetti. If you are using tissue paper, rip up the tissue paper into small pieces and fill the egg up about three fourths of the way inside the egg.
Step 7: Your last step is to seal the egg so the confetti stays inside. Line the larger opening of the egg with glue and seal the opening with a piece of tissue paper.
After step 7, you are done!
Take photos of your DIY craft and tag @cbulancermedia to possibly be featured!


